Premium Exterior House Painting Company in Denver and Surrounding Areas
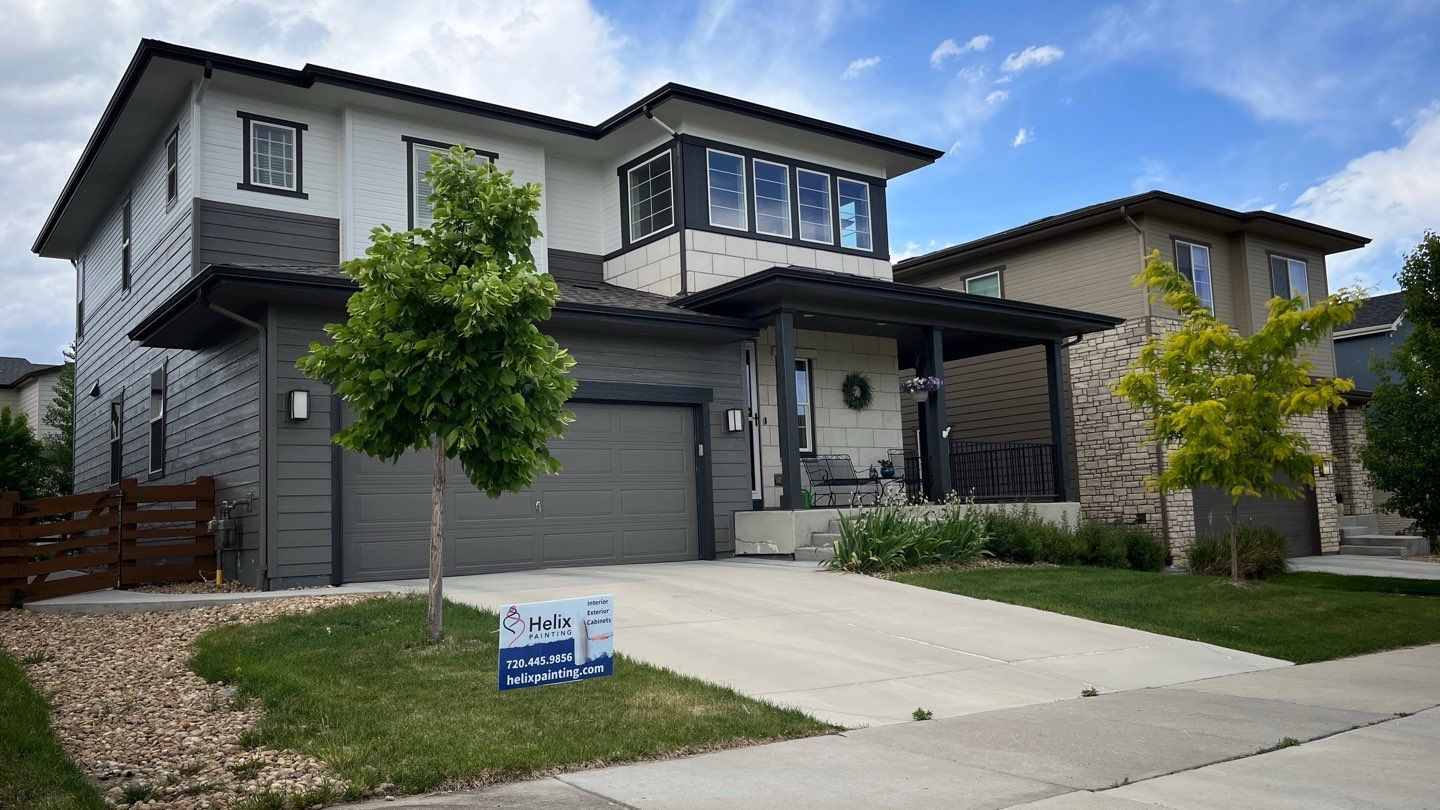
Are you looking to transform the exterior of your home and boost its curb appeal? At Helix Painting, we specialize in exterior house painting that protects and beautifies your property. Whether you’re looking to refresh your home’s appearance or prepare it for sale, we provide top-quality results with exceptional craftsmanship.
Our experienced team understands the importance of using durable, weather-resistant paint that stands up to Colorado’s unpredictable climate, and we’re committed to delivering stunning results that last. Let us help you create the home you’ve always dreamed of, inside and out!
Transforming Spaces with Expert Painting Services
Stress-Free Residential & Commercial Painting Services Across the Denver Metro Area
Stress-Free Residential & Commercial Painting Services Across the Denver Metro Area
At Helix Painting, we understand that a painting project should be a smooth and stress-free experience. Whether you’re refreshing your home’s look or enhancing your business’s curb appeal, we deliver premium services with exceptional craftsmanship. Our expert team ensures the highest standards of care and attention from start to finish, providing long-lasting results that elevate your space.
Full-Service Exterior House Painting
At Helix Painting, we offer comprehensive exterior house painting services tailored to meet your specific needs. From a simple refresh to a complete transformation, our skilled painters ensure that every detail is handled with care and precision.
We only use premium paint and advanced techniques, guaranteeing a exceptional finish that enhances your home’s value and appearance. Our team is experienced in painting all exterior surfaces, including trim, siding, and more, delivering a smooth, professional finish every time.
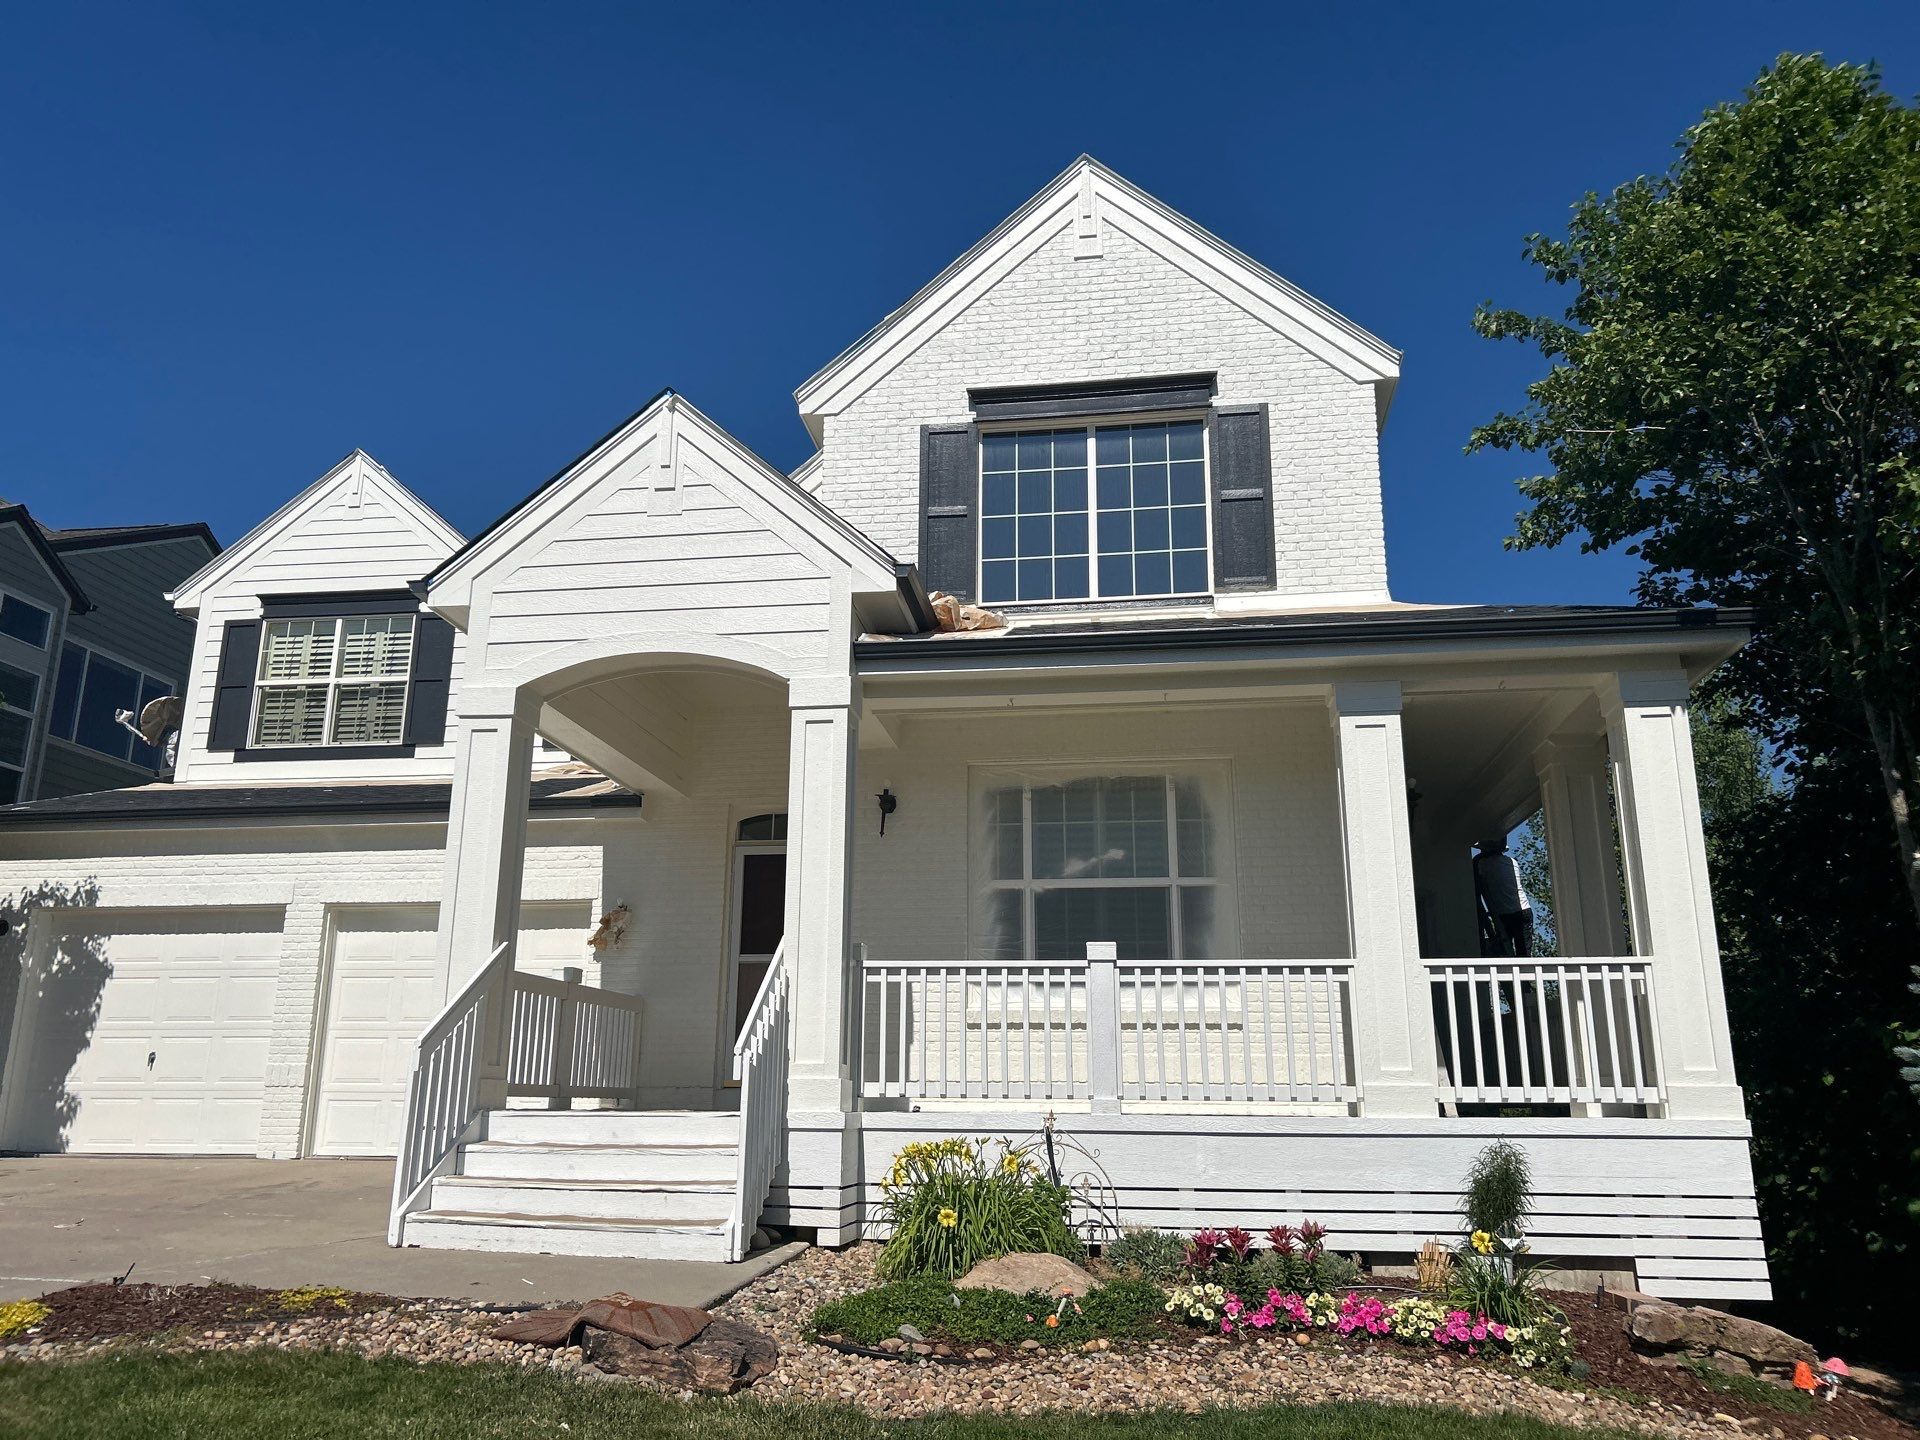

Full Exterior House Painting
When you choose Helix Painting for your full exterior house painting, you’re choosing a team of experts dedicated to providing exceptional results. Our painters are trained to handle all aspects of the job—from prep work to the final coat—ensuring your home is both beautiful and protected.
We take the time to address every detail, including cleaning, repairs, and surface preparation, so that the final result is a lasting transformation. Whether you’re updating your color palette or maintaining your home’s exterior, Helix Painting provides professional painting that enhances curb appeal and provides long-lasting protection.
Quality Products & Painting Professionals
At Helix Painting, we believe that the best results come from using the highest-quality materials and employing skilled painters. Our team is dedicated to staying up-to-date on the latest industry techniques and products.
We use only premium, weather-resistant paints designed for durability, so your home’s exterior stays vibrant and protected for years. Our painters are trained to provide attention to detail in every brushstroke, ensuring a smooth, exceptional finish that you can be proud of.
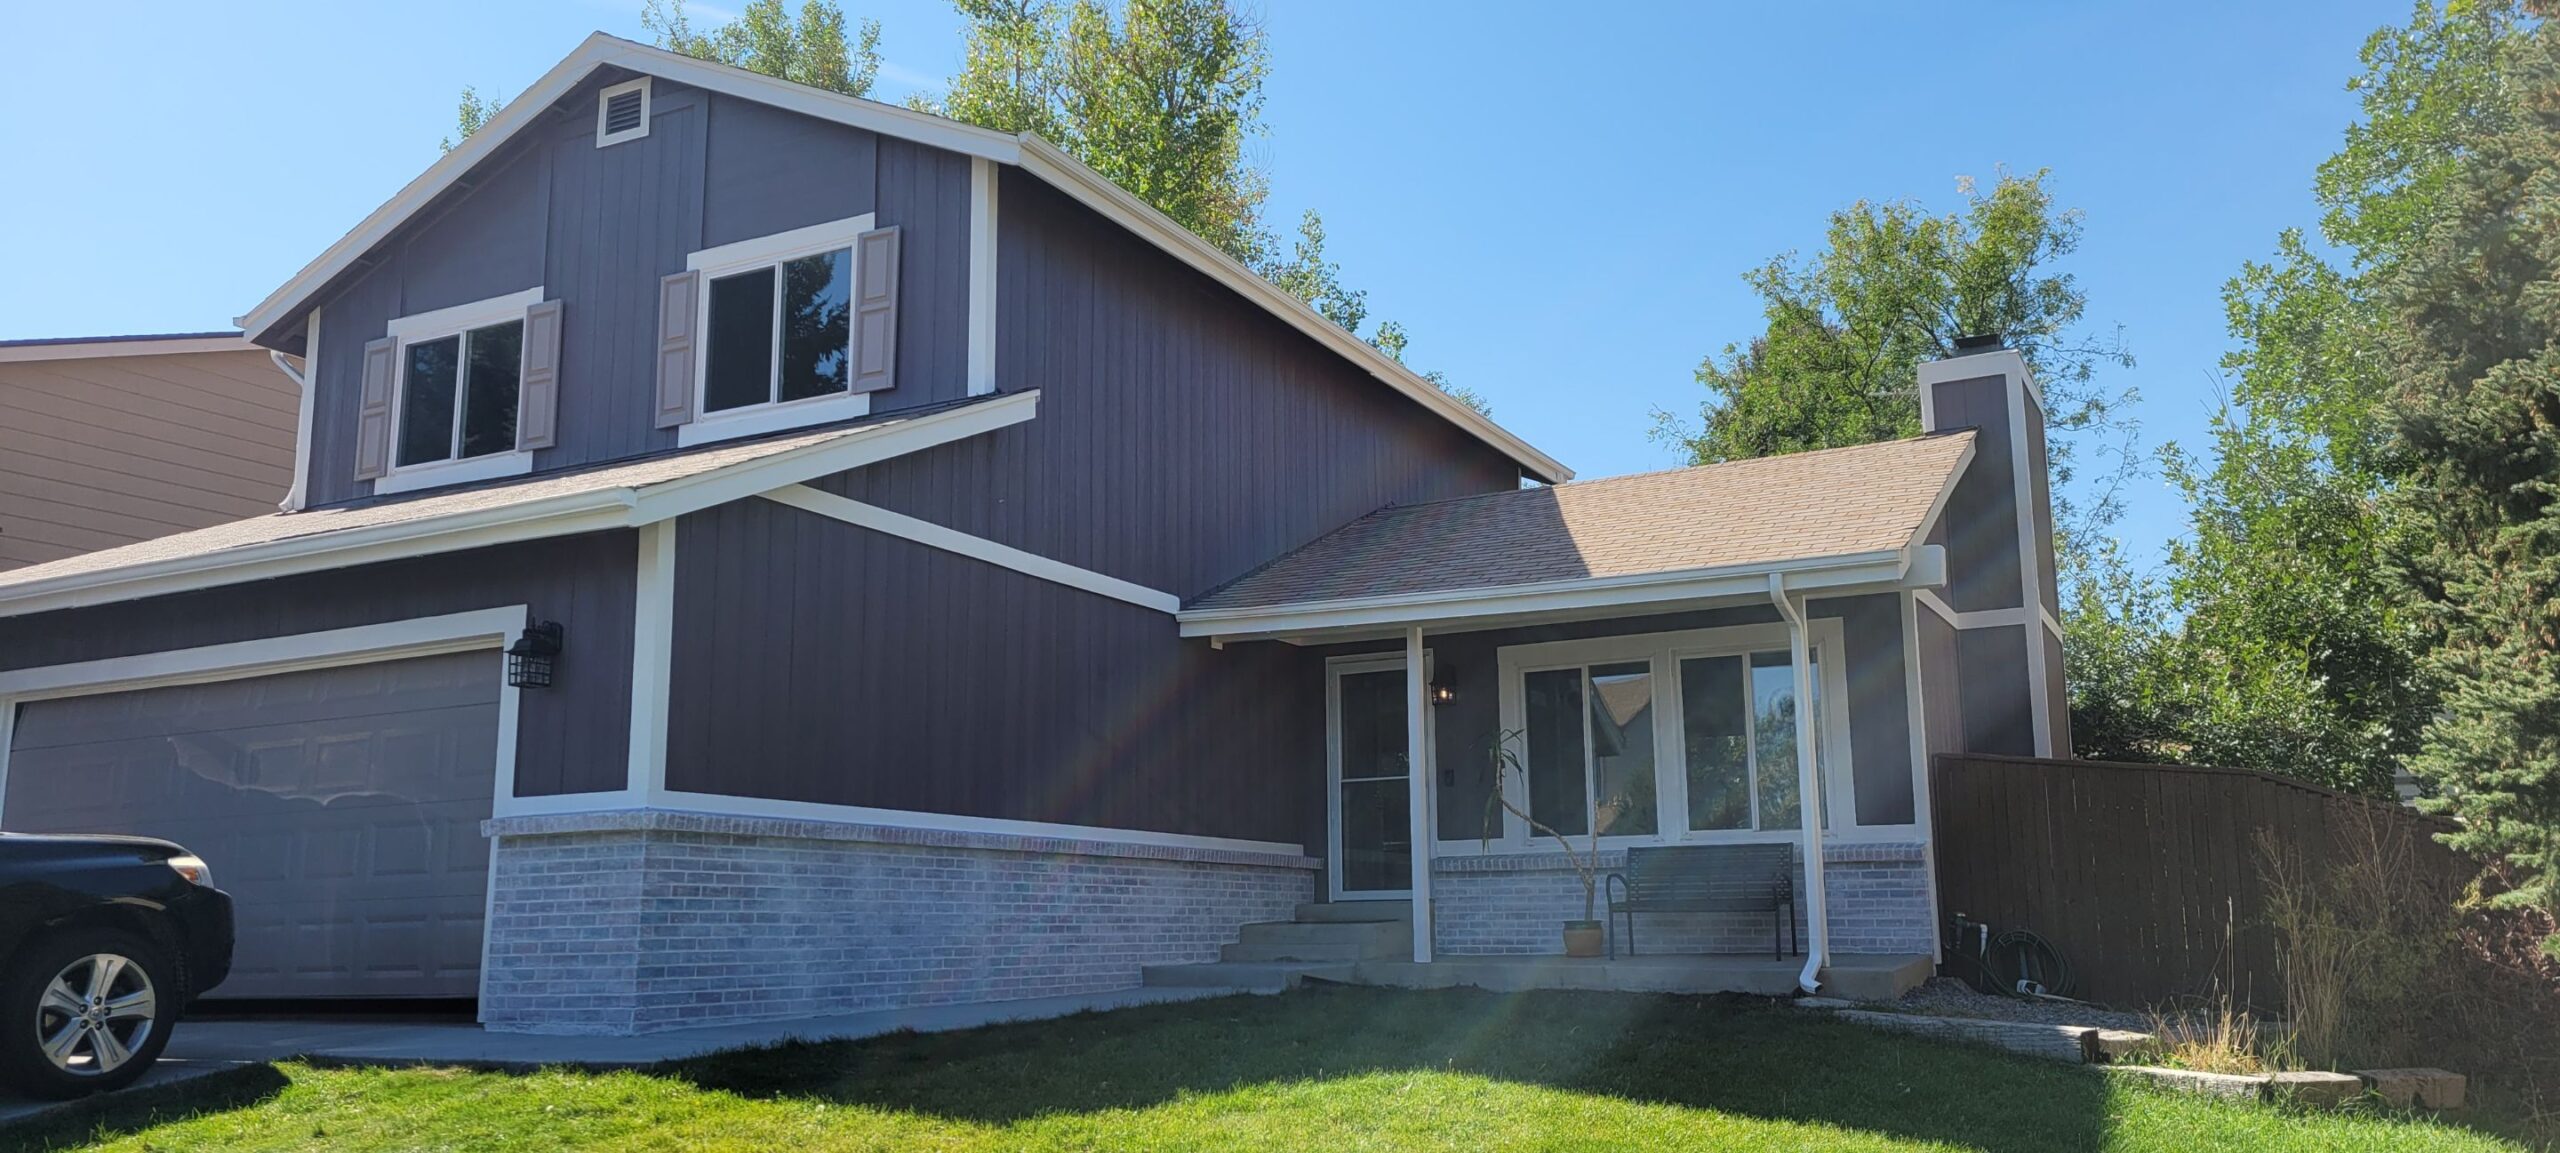
Best Exterior House Painters
When it comes to exterior painting, Helix Painting stands out as one of the best in the business. We bring over 8 years of experience, a dedication to quality, and a passion for perfection to every project we tackle. Our team has the expertise to handle all types of exterior surfaces, delivering exceptional results every time.
Whether you need a quick refresh or a complete makeover, our commitment to customer satisfaction ensures that your painting project will exceed expectations.
Real-life Trustworthy Painting Results
We consistently produce reliable and superior outcomes for all our customers.
We consistently produce reliable and superior outcomes for all our customers.
3,833+
Satisfied Customers
At Helix Painting, our focus is on creating exceptional experiences for our clients. With over 3,833 successful projects, we pride ourselves on delivering top-tier painting services that leave our customers thrilled with the results.
76+
Years of Experience
With 76+ years of combined experience, our team brings unparalleled expertise to every project. We are dedicated to using our knowledge and skills to deliver the highest level of craftsmanship and care for every customer.
66,000+
Gallons of Paint Used
In over 8 years, our team has used more than 66,000 gallons of premium paint. This vast experience helps us understand the best materials and techniques to create lasting, beautiful results every time.
Why Choose Helix Painting
Choosing Helix Painting means choosing a trusted, reliable, and skilled painting company. With over 8 years of experience, we’ve earned a reputation for providing high-quality residential and commercial painting services in the Louisville area and surrounding neighborhoods. We take pride in our work and always aim to exceed expectations.
From our free consultations to our meticulous preparation and professional finishes, we ensure that your home’s exterior painting project is in good hands. We are dedicated to providing outstanding customer service and the best possible results for every client.

What We Offer
Exterior House Painting FAQs
Your Denver Metro Area Neighbors had questions, these are the answers…
